Getting Started
Installation
pip install cloudofficeprint
npm install cloudofficeprint
npm install cloudofficeprint
.jar
To install the Cloud Office Print Java package you can download the .jar file of the project and add it to the build path of your project. The .jar file can be found on the Maven Central Repository. Select the latest version of Cloud Office Print, select Downloads in the top right corner and choose jar to download our .jar file.
Eclipse
In Eclipse create a new Java project or use an existing one. After downloading our .jar file, you can add it to the project by creating a 'lib'-folder on the same level as the 'src'-folder and putting the .jar file inside the 'lib'-folder.
Next, you have to add the .jar file to the classpath of the project. You can do so by right-clicking the root folder of your project and clicking 'Build Path > Configure Build Path...'. Go to the tab 'Libraries', click on 'Classpath' and click on 'Add JARs...'. Navigate to your 'lib'-folder in your project and select our .jar file. Finally, click 'Apply and Close' and we're done.
Gradle
To use the Cloud Office Print Java package in a Gradle project, you can add it as a dependency to your build.gradle file. This project is uploaded to Maven Central, so in the build.gradle file you have to include the Maven Central repository:
repositories {
    mavenCentral()
}
The entry to put inside the dependencies-object in the build.gradle file can be found on our Maven Central Repository and selecting the latest version. It will look like the following command where the version is changed to the latest version which can be found on our Maven Central Repository.
dependencies {
    implementation 'com.cloudofficeprint:cloudofficeprint:21.2.0'
}
dependencies {
    implementation group: 'com.cloudofficeprint', name: 'cloudofficeprint', version: '21.2.0'
}
Maven
To use the Cloud Office Print Java package in a Maven project, you can add it as a dependency to your pom.xml file. This project is uploaded to Maven Central, so in the pom.xml file you have to include the Maven Central repository. The entry to put inside the pom.xml file can be found on our our Maven Central Repository and selecting the latest version. It will look like the following command where the version is changed to the latest version which can be found on our Maven Central Repository.
<dependencies>
    <dependency>
        <groupId>com.cloudofficeprint</groupId>
        <artifactId>cloudofficeprint</artifactId>
        <version>21.2.0</version>
    </dependency>
</dependencies>
Usage
- Create a template (docx, xlsx, pptx, HTML, md, txt, csv), for the possible tags, click here.
- Create the input data with the SDK.
- Send template and data to a Cloud Office Print server and save the response to a file with the SDK.
Verbose Mode
To see the JSON-data that is sent to the Cloud Office Print server together with some information about the requests and responses, you can turn on verbose-mode.
cop_verbose to True when creating a PrintJob.
copVerbose to true when creating a PrintJob.
copVerbose to true when creating a PrintJob.
Server object and then calling .setVerbose(true) on that object.
Quick Start: Hello World Example
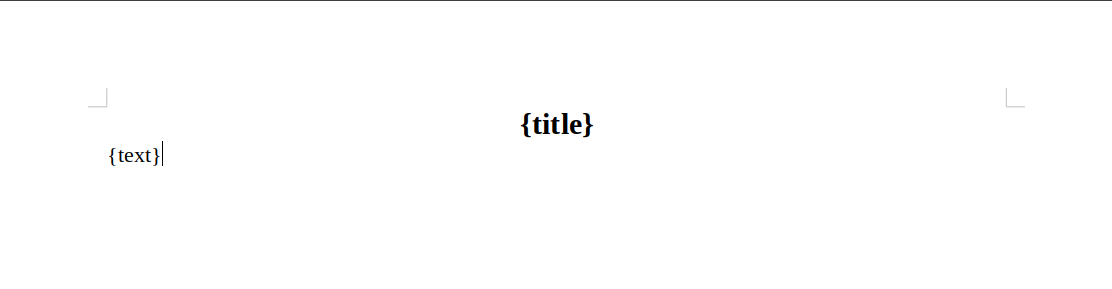
Template (docx)
This is the docx template we will use.
Setup
First we import the Cloud Office Print library:
import cloudofficeprint as cop
const cop = require('cloudofficeprint');
import * as cop from 'cloudofficeprint';
import com.CloudOfficePrint.*;
Data
We add the data needed to fill in the template using the SDK.
# Main object that holds the data
collection = cop.elements.ElementCollection()

# Create the title element and add it to the element collection
title = cop.elements.Property(name="title", value="Hello World!",)
collection.add(title)

# Create the text element and add it to the element collection
text = cop.elements.Property(
    name="text",
    value="This is an example created with the Cloud Office Print Python SDK",
)
collection.add(text)
// Main object that holds the data
const collection = new cop.elements.ElementCollection();

// Create the title element and add it to the element collection
const title = new cop.elements.Property('title', 'Hello World!');
collection.add(title);

// Create the text element and add it to the element collection
const text = new cop.elements.Property(
    'text',
    'This is an example created with the Cloud Office Print JavaScript/TypeScript SDK',
);
collection.add(text);
// Main object that holds the data
ElementCollection collection = new ElementCollection("data");

// Create the title element and add it to the element collection
Property title = new Property(
    "title",
    "Hello World!"
);
collection.addElement(title);

// Create the text element and add it to the element collection
Property text = new Property(
   "text",
   "This is an example created with the Cloud Office Print Java SDK"
);
collection.addElement(text);
Cloud Office Print Server
The template and the data need to be sent to a Cloud Office Print server that merges both. This can be done by setting up the configuration for a Cloud Office Print server and passing it to the print job instance. You can get your API key by signing up at cloudofficeprint.com.
SERVER_URL = "https://api.cloudofficeprint.com/"
API_KEY = "YOUR_API_KEY"  # Replace by your own API key

# Setup Cloud Office Print server
server = cop.config.Server(
    SERVER_URL,
    cop.config.ServerConfig(api_key=API_KEY),
)

# Create print job
print_job = cop.PrintJob(
    data=collection,
    server=server,
    template=cop.Template.from_local_file("PATH_TO_TEMPLATE_FILE"),
)

# Execute print job and save response to file
response = print_job.execute()
response.to_file("PATH_OF_OUTPUT_FILE")
const SERVER_URL = 'https://api.cloudofficeprint.com/';
const API_KEY = 'YOUR_API_KEY'; // Replace by your own API key

// Setup Cloud Office Print server
const server = new cop.config.Server(
    SERVER_URL,
    new cop.config.ServerConfig(API_KEY),
);

// Create print job
const printJob = new cop.PrintJob(
    collection,
    server,
    cop.Template.fromLocalFile('PATH_TO_TEMPLATE_FILE'),
);

// Asynchronously execute print job and save response to file
(async () => {
    const response = await printJob.execute();
    await response.toFile('PATH_OF_OUTPUT_FILE');
})();
Server copServer = new Server("https://api.cloudofficeprint.com/");
copServer.setVerbose(true);
copServer.setAPIKey("YOUR_API_KEY"); // Replace by your own API key

// Load template
Base64Resource base64Resource = new Base64Resource();
base64Resource.setFileFromLocalFile("PATH_TO_TEMPLATE_FILE");

// Create the data object which uses the data collection
Hashtable<String, RenderElement> data = new Hashtable<String, RenderElement>();
data.put("data", collection);

// Specify the output configuration and create the print job
Output output = new Output(null, "raw", "libreoffice", null, null, null, null);
PrintJob printJob = new PrintJob(data, copServer, output, base64Resource, null, null, null, null);

// Execute the print job, which sends the template and data to the Cloud Office Print server and receives the server reponse
Response response = printJob.execute();

// Save the server response (output file) to your computer
response.downloadLocally("PATH_OF_OUTPUT_FILE");
where PATH_TO_TEMPLATE_FILE is the (relative) path to your template file (e.g. ./data/template.docx) and PATH_OF_OUTPUT_FILE is the (relative) path where you want the output file to be stored (e.g. ./output/output_file).
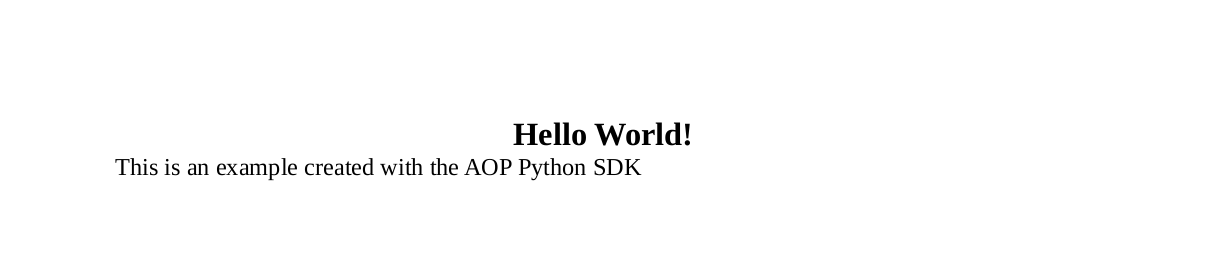
Result
More Info
For more information about the hello world example for each individual SDK, visit the appropriate pages:
Examples
Going through the other examples is also recommended as this gives you a good idea on how to use the SDK. The current examples are:
- Order Confirmation Example
- PDF Signature Example
- Solar System Example
- SpaceX Example (the most extensive example)
- Multiple Request Merge Example