cloudofficeprint-javascript
This project provides a JavaScript/TypeScript interface for Cloud Office Print.
Installation
After setting up an npm-project (npm init in your terminal), you can install the Cloud Office Print Java-/TypeScript package by typing in your terminal:npm install cloudofficeprint
Usage
- Create a template (docx, xlsx, pptx, HTML, md, txt, csv), for the possible tags, click here.
- Create the input data with this Java-/TypeScript SDK
- Send template and data to a Cloud Office Print server and save the response to a file with this Java-/TypeScript SDK
To see the JSON-data that is sent to the Cloud Office Print server, you can turn on verbose-mode by setting the argument copVerbose to True when creating a PrintJob.
Quickstart: Hello World example
Template (docx)
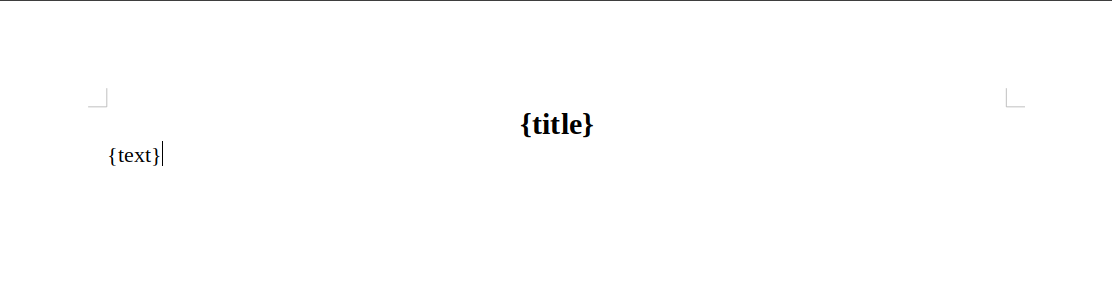
Data
The data can be generated by the Java-/TypeScript SDK:
import * as cop from 'cloudofficeprint';

// Main object that holds the data
const collection = new cop.elements.ElementCollection();

// Create the title element and add it to the element collection
const title = new cop.elements.Property(
    'title',
    'Hello World!',
);
collection.add(title);

// Create the text element and add it to the element collection
const text = new cop.elements.Property(
    'text',
    'This is an example created with the Cloud Office Print Java-/TypeScript SDK',
);
collection.add(text);
...
Cloud Office Print server
The template and the data need to be sent to a Cloud Office Print server that merges both. This can be done by setting up the configuration for a Cloud Office Print server and passing it to the print job instance. You can get your API key by signing up at https://www.cloudofficeprint.com.
...
const SERVER_URL = 'https://api.cloudofficeprint.com/';
const API_KEY = 'YOUR_API_KEY'; // Replace by your own API key

// Add server
const server = new cop.config.Server(
    SERVER_URL,
    new cop.config.ServerConfig(API_KEY),
);

// Create print job
const printjob = new cop.PrintJob(
    collection,
    server,
    cop.Resource.fromLocalFile('PATH_TO_TEMPLATE_FILE'),
);

// Asynchronously execute print job and save response to file
(async () => {
    const response = await printjob.execute();
    await response.toFile('PATH_OF_OUTPUT_FILE');
})();
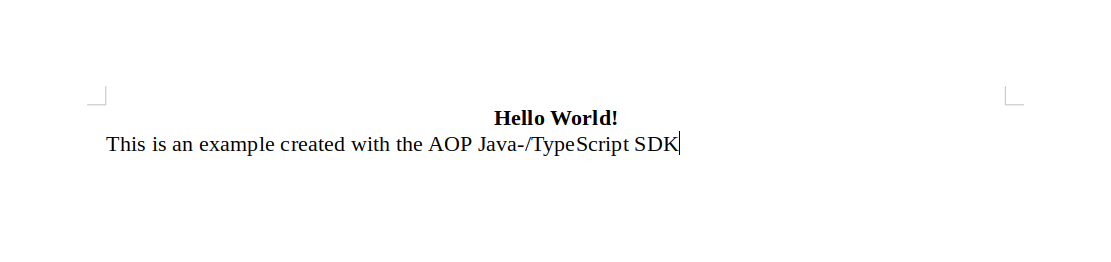
Result
Other examples
Going through the other examples is also recommended as this gives you a good idea on how to use the SDK. The current examples are:
- order_confirmation_example.ts
- pdfsignature_example.ts
- solar_system_example.ts
- spacex_example.ts (the most extensive example)
- multiple_request_merge_example.ts
The examples can be found in the examples-directory of the project on Github. Each example has its own folder containing the used templates, the generated output files and a markdown file with explanation.
Documentation
The documentation for this SDK can be found inside the docs/ folder on Github. Open the index.html file in a browser.
The documentation for Cloud Office Print can be found at the Cloud Office Print docs.
Development
Documentation
To generate the documentation, you can run the following command in the project directory:
npx typedoc --out docs src/index.ts
Tests
There are tests for all classes and methods. The tests check if the JSON that needs to be sent to the server is as expected. To run the tests:
- Open a terminal in the parent directory of this project, which can be found on Github.
- Type in the terminal:
In the filenpm run testprintjob.test.ts, the tests for theexecuteFullJson()-function and for no input template are skipped because these tests need an API key to succeed. You can enable these tests by removing the.skipon the first line (as explained in the test file itself). The tests make use of the jest-package.
ESLint
Airbnb style guide is used in this project with some modifications (see .eslintrc.json).